
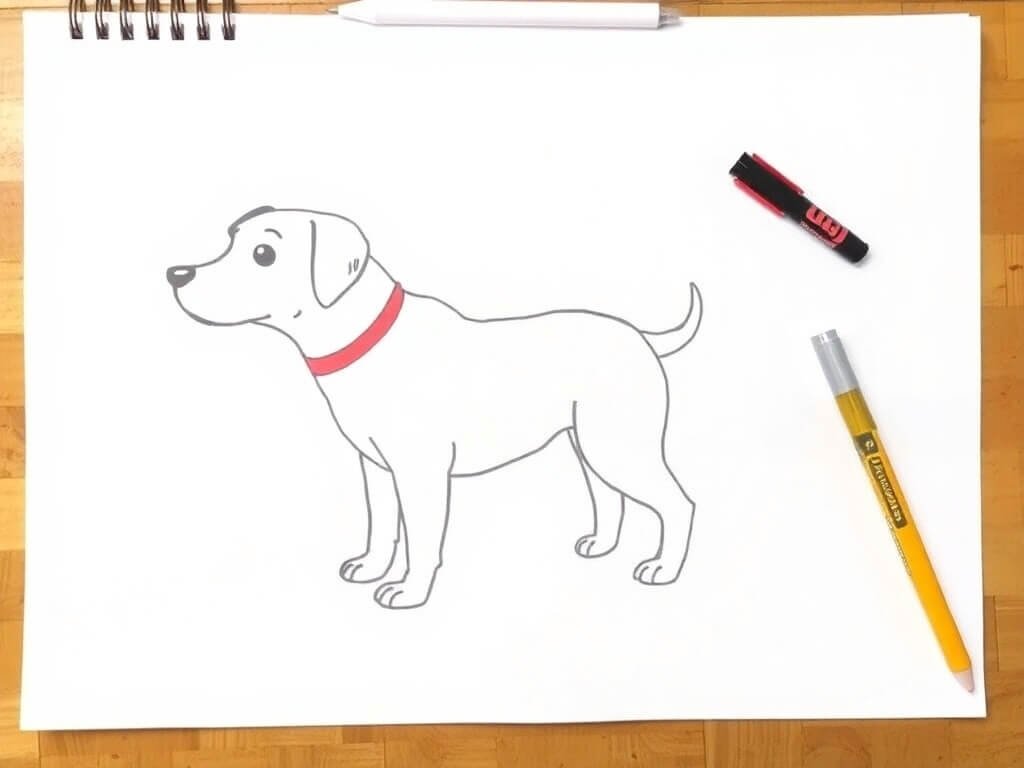
Drawing a dog may seem challenging, but with the proper techniques and a little practice, anyone can learn how to draw a dog. Whether you’re a beginner or an experienced artist, this guide will walk you through each step to help you create an adorable dog drawing. This tutorial will break down the process into simple, easy-to-follow instructions that will teach you how to draw a dog, from basic shapes to detailed features.
Why Learn How to Draw a Dog?
Drawing a dog can be a rewarding experience for several reasons. Dogs are beloved creatures known for their companionship, loyalty, and adorable features, making them an excellent subject for artists of all skill levels. Learning to draw a dog improves your drawing skills and allows you to express your love for animals creatively. Plus, dog drawings make excellent gifts or personal projects!
Supplies You’ll Need
Before we start the tutorial, gathering the materials needed for the drawing is essential. For this tutorial, we’ll keep things simple. Here’s what you’ll need:
- Paper – Any drawing paper will do. If you’re using a pencil, a smooth surface is preferable.
- Pencils – Pencils ranging from hard (H) to soft (B) will help with sketching and shading.
- Eraser – A kneaded or regular eraser will work to correct mistakes.
- Coloured Pencils, Markers, or Watercolors – Optional for adding colour to your drawing.
Step 1: Start with Basic Shapes
The key to drawing any animal, including dogs, is to begin with basic shapes. This first step will focus on constructing the dog’s framework using simple shapes.
Drawing the Head
- Start with a circle for the dog’s head. It doesn’t need to be perfect, as this will serve as a rough guideline for the rest of the drawing.
- For the snout, draw an oval shape extending from the bottom of the circle. This will serve as the dog’s nose and mouth area.
- Place two small circles on the sides of the head for the dog’s ears. Depending on the breed, ears can be pointed or floppy so that you can adjust the size and shape later.
Drawing the Body
- For the dog’s body, draw an oval shape that is more significant than the head. Position it slightly lower than the head to allow room for the neck and the legs.
- Add a small tail at the rear end of the oval. Depending on the breed, the tail can be curved or straight.
Positioning the Legs
- Draw four straight lines extending down from the body to the legs. These lines should be placed symmetrically—two in the front and two in the back.
- Add small ovals or circles at the bottom of each leg to represent the dog’s paws. These can be adjusted later to make the paws more detailed.
Step 2: Outline the Dog’s Features
Now that you have the basic shapes, it’s time to refine your dog drawing. This step involves turning the simple shapes into more recognizable features.
Drawing the Head and Face
- Outline the head by following the curve of the circle you drew earlier, but make the lines slightly softer and more organic. You can also add small bumps around the outline to give the head more structure.
- Refine the snout by shaping the oval and extending it outward from the head. Depending on the breed you’re drawing, you can make the snout longer or shorter.
- For the eyes, draw two small circles within the head. Position them near the upper part of the head but spaced evenly apart. The size of the eyes will depend on the breed you’re drawing, but typically, dog eyes are larger than those of humans.
- Draw a small nose at the end of the snout. It’s usually a triangle or oval shape, depending on the breed.
- Add a mouth beneath the nose, curving it slightly to show a friendly or playful expression. A slight curve can make the dog appear happy and content.
- Ears – Depending on the breed, shape the ears accordingly. For a German Shepherd, the ears will be pointed, whereas a Beagle will have floppy ears.
Drawing the Body and Limbs
- Smooth out the edges of the oval body, and draw the shoulders by curving the lines where the front legs meet the body.
- Define the legs by drawing more detailed lines around the initial straight lines. Add muscle tone and texture to give the limbs more volume and shape.
- Paws – Draw small ovals at the ends of the legs to represent the paws. Add details like the toes or claws if you want more realism.
- Draw the tail by refining its shape. Depending on the dog, the tail can be fluffy, straight, or curved.
Step 3: Add Details and Texture
With the basic outlines in place, it’s time to add details and texture to your drawing. This step will make your dog come to life!
Fur Texture
- Dogs have different fur textures depending on the breed. If you’re drawing a fluffy dog, like a Pomeranian, use short, quick strokes to mimic the fur texture.
- For smoother-coated dogs, such as greyhounds, use longer and more even lines to create the illusion of sleek fur.
- Shading – Use your pencils to shade in areas of the body that are naturally darker. This includes the area underneath the dog’s belly, the underside of the legs, and the shadows cast by the ears.
Eyes and Nose Details
- The eyes should have a small circle inside them for the pupils. Darken the pupil and leave a tiny spot of white to give the eyes a reflective look.
- For the nose, add small highlights to give it a shiny, wet appearance. The nose should look slightly different from the rest of the body regarding texture and shading.
Final Touches
- Check the overall proportions and symmetry of the drawing. Make adjustments to the legs, head, or body if necessary.
- Add additional shading or details around the paws, face, or tail for more realism.
Step 4: Add Color (Optional)
Add colour to your dog if you want to take your drawing further. Depending on the medium you’re using (coloured pencils, markers, or watercolours), here are some tips:
- Start with the lightest colours and gradually add darker tones for shadows.
- If using coloured pencils, layer your colours in the direction of the fur to create a smooth, blended look.
- Watercolours can add a soft, airy effect to the fur, while markers provide bold and sharp colours.
Colouring the Dog’s Fur
- Lightly shade the entire body with the base colour of the dog’s fur.
- Add darker tones to the shaded areas, such as the back and underneath the body.
- You can also use a white or light-coloured pencil to highlight the areas where the fur is naturally shinier, such as around the ears, nose, or paws.
Final Touches
- Colour the dog’s eyes darkly, leaving a small white spot for a reflection. This will bring life to the character.
- Use a dark colour for the nose and other details, such as the mouth or paws.
- If your dog has a unique colour pattern (such as spots or stripes), be sure to include those as well.
Step 5: Erase Guidelines
Once you’re happy with your drawing, it’s time to erase any leftover guidelines and rough sketches that are no longer needed. Use a kneaded eraser to gently remove any pencil marks without damaging the paper. Be careful not to smudge the shading or colouring you’ve applied.
Tips for Improving Your Dog Drawing Skills
Don’t get discouraged if you’re unhappy with your first attempt at drawing a dog. Drawing is a skill that improves with practice! Here are a few tips to help you improve your dog drawings over time:
- Study Dog Anatomy – Understanding how a dog’s body structure can help you draw more realistic poses and features. Study reference images of dogs to understand their muscle structure and movement.
- Experiment with Different Breeds – Different dog breeds have unique characteristics. Experiment with drawing various types of dogs to improve your versatility.
- Practice Regularly – The more you practice, the better you’ll get. Try drawing dogs in different positions or experimenting with different facial expressions.
Conclusion
Learning how to draw a dog can be a fun and rewarding experience. Following this step-by-step guide, you can create a cute and realistic dog drawing, even if you’re a beginner. Remember to start with basic shapes, refine your lines, add details, and practice regularly. Whether drawing for fun or working on a more detailed project, developing your dog drawing skills will allow you to express your creativity and passion for animals. So grab your pencils, find a comfortable space, and get started on your dog drawing journey today!
you may also read: How to Draw a Rose: A Comprehensive Step-by-Step Guide